Recipe: Roasted Pumpkin Puree
‘Tis the season for all things pumpkin!
One of my favorite foods to bake with is pumpkin. It’s high in fiber, full of potassium and beta-carotene, and adds moisture to baked goods. I tend to buy a lot of pumpkins during this time of year for the purposes of roasting them and making puree, which freezes well and guarantees pumpkin baking year-round.
It’s true that you can purchase canned pumpkin — but it’s not all pumpkin! Even canned pumpkin that is labeled as “100% Pure Pumpkin” contains puree of pumpkin as well as other winter squash (butternut, hubbard, etc). Manufacturers do this to guarantee a sweeter product and a consistent texture. Why they can label it 100% pumpkin is beyond me, but I promise you that with this recipe, you won’t need the canned stuff.
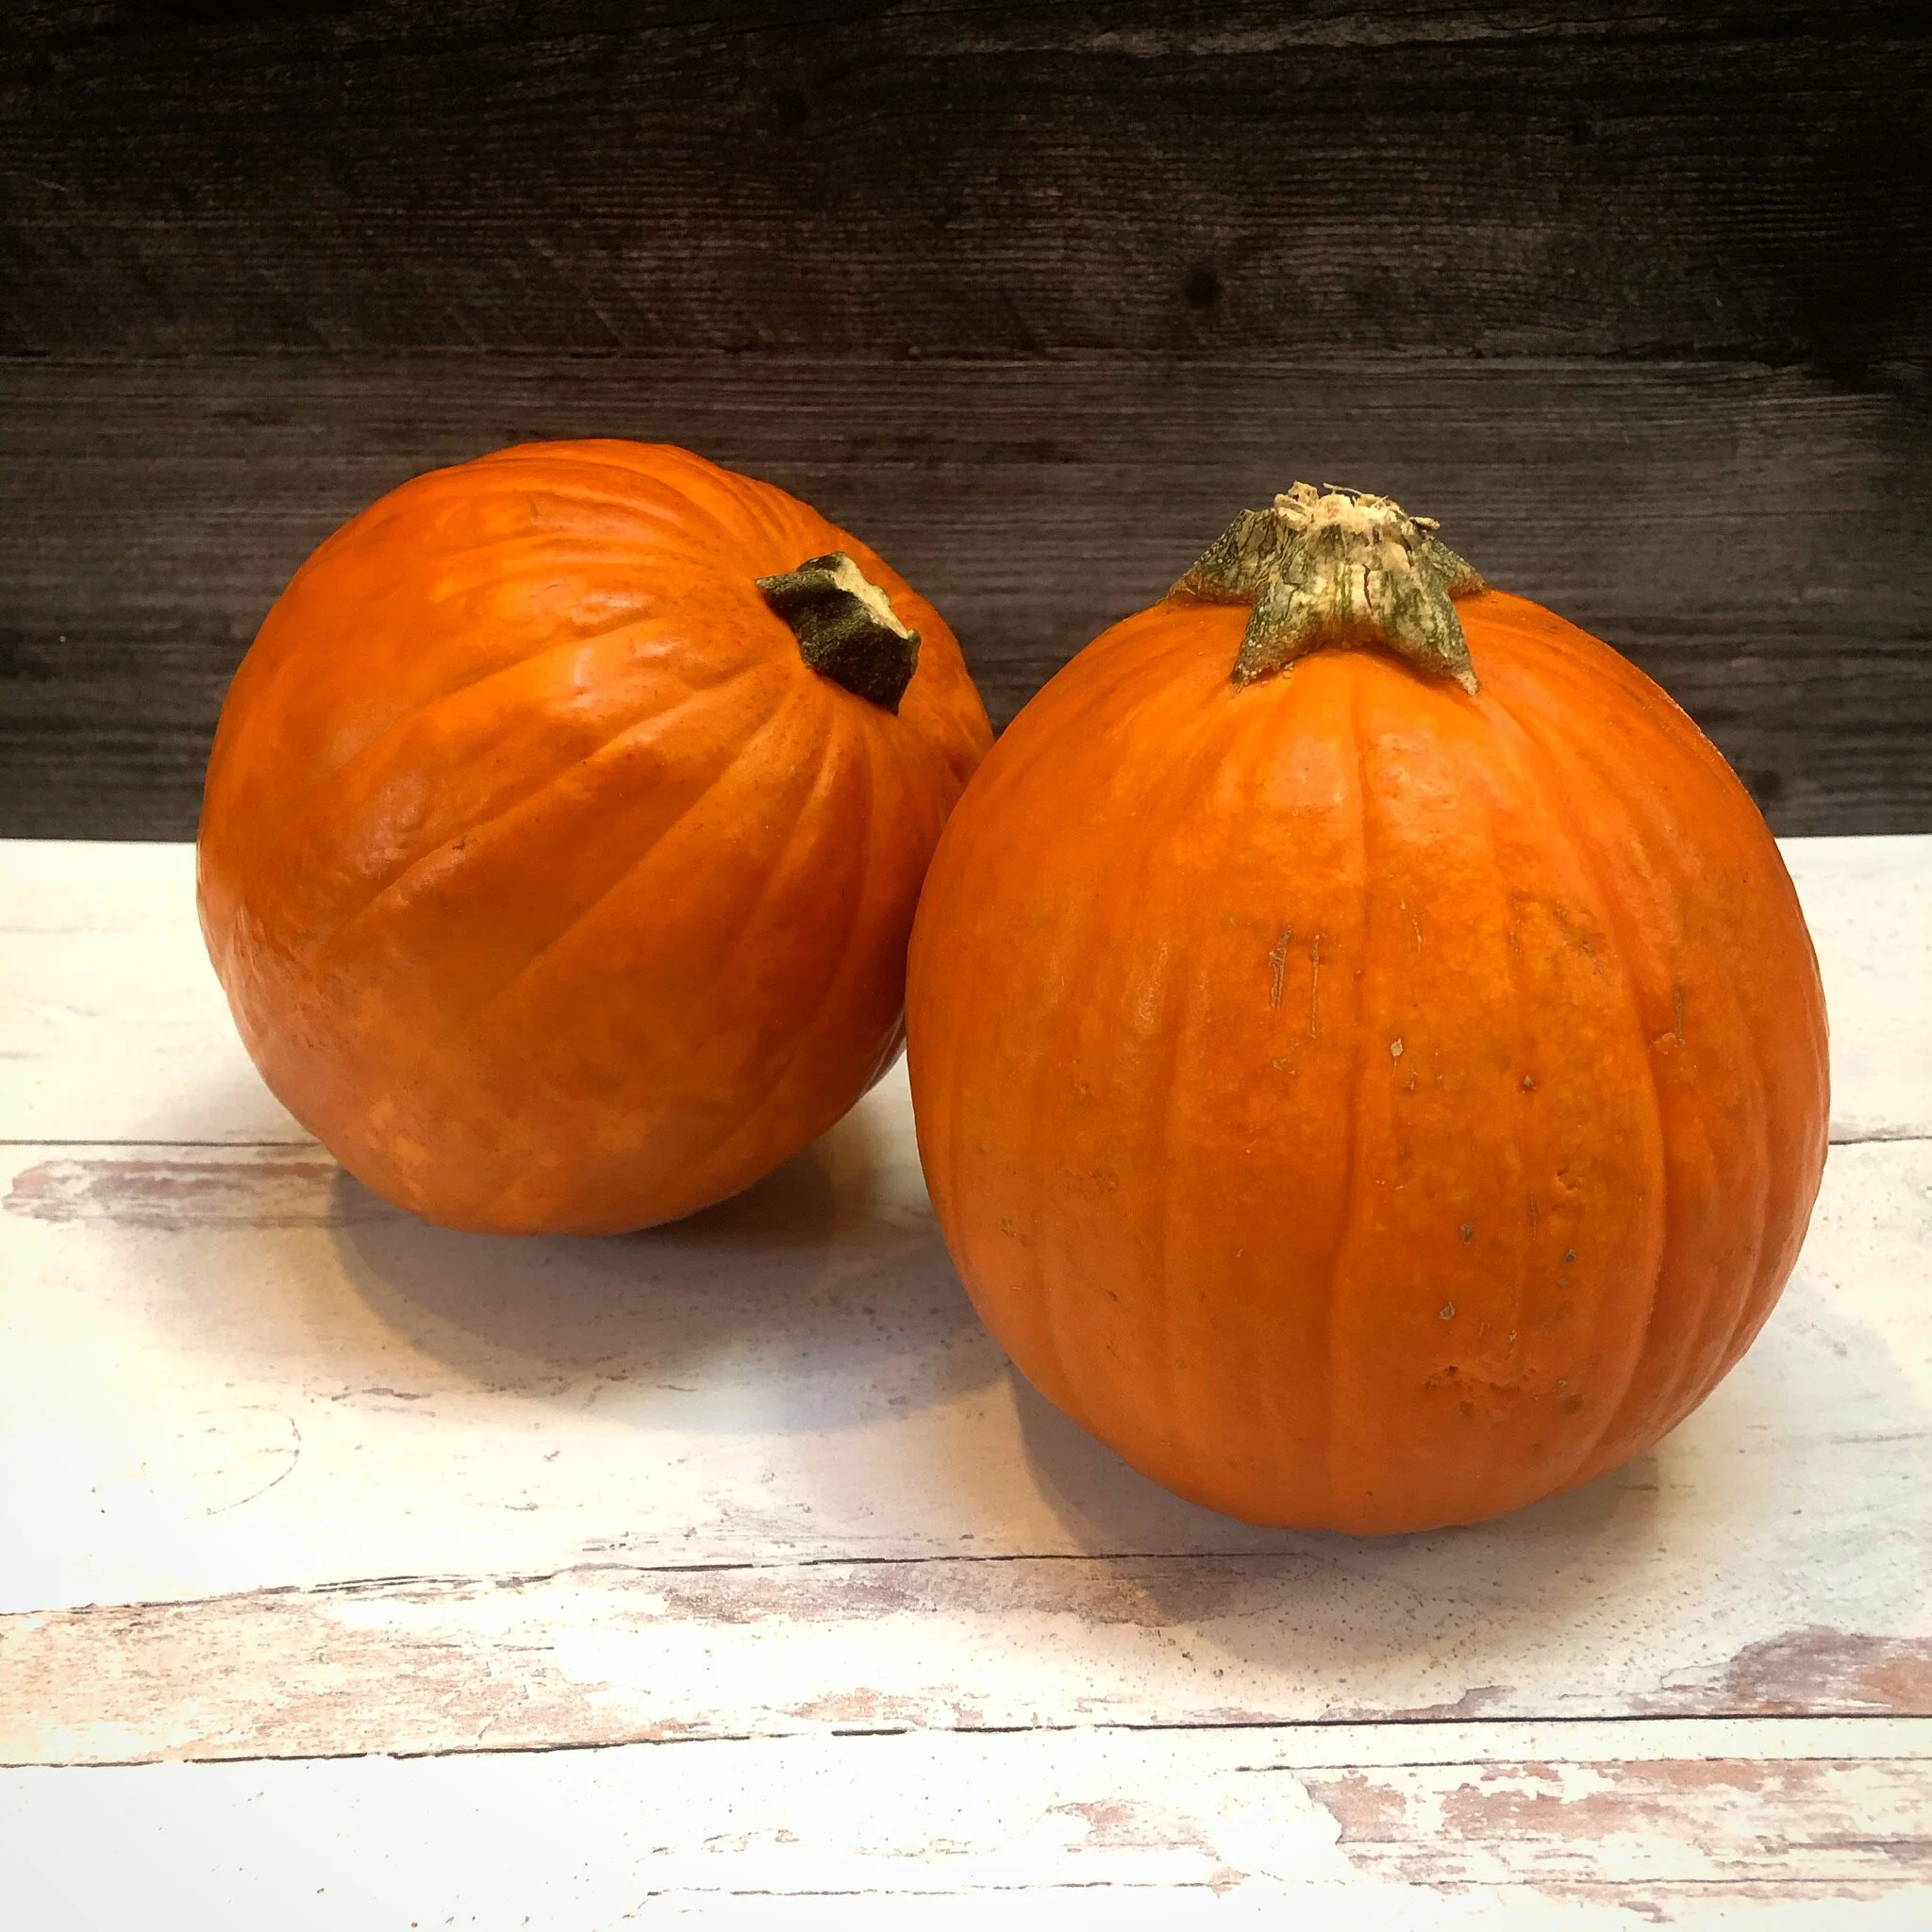
The first step is to get your hands on some pumpkins. You want to grab a few of the food variety, which is to say, not the large pumpkins grown for jack-o-lantern carving. Food pumpkins — often called Pie Pumpkins or Sugar Pumpkins — are grown so that they have a higher flesh-to-rind ratio and a sweeter flavor. They’re usually the size of a cantaloupe and fairly common in stores during the autumn. I get mine at Trader Joe’s, and usually roast two at a time since the four halves fit neatly on a baking sheet in my oven.
1) Preheat your oven to 350 degrees.
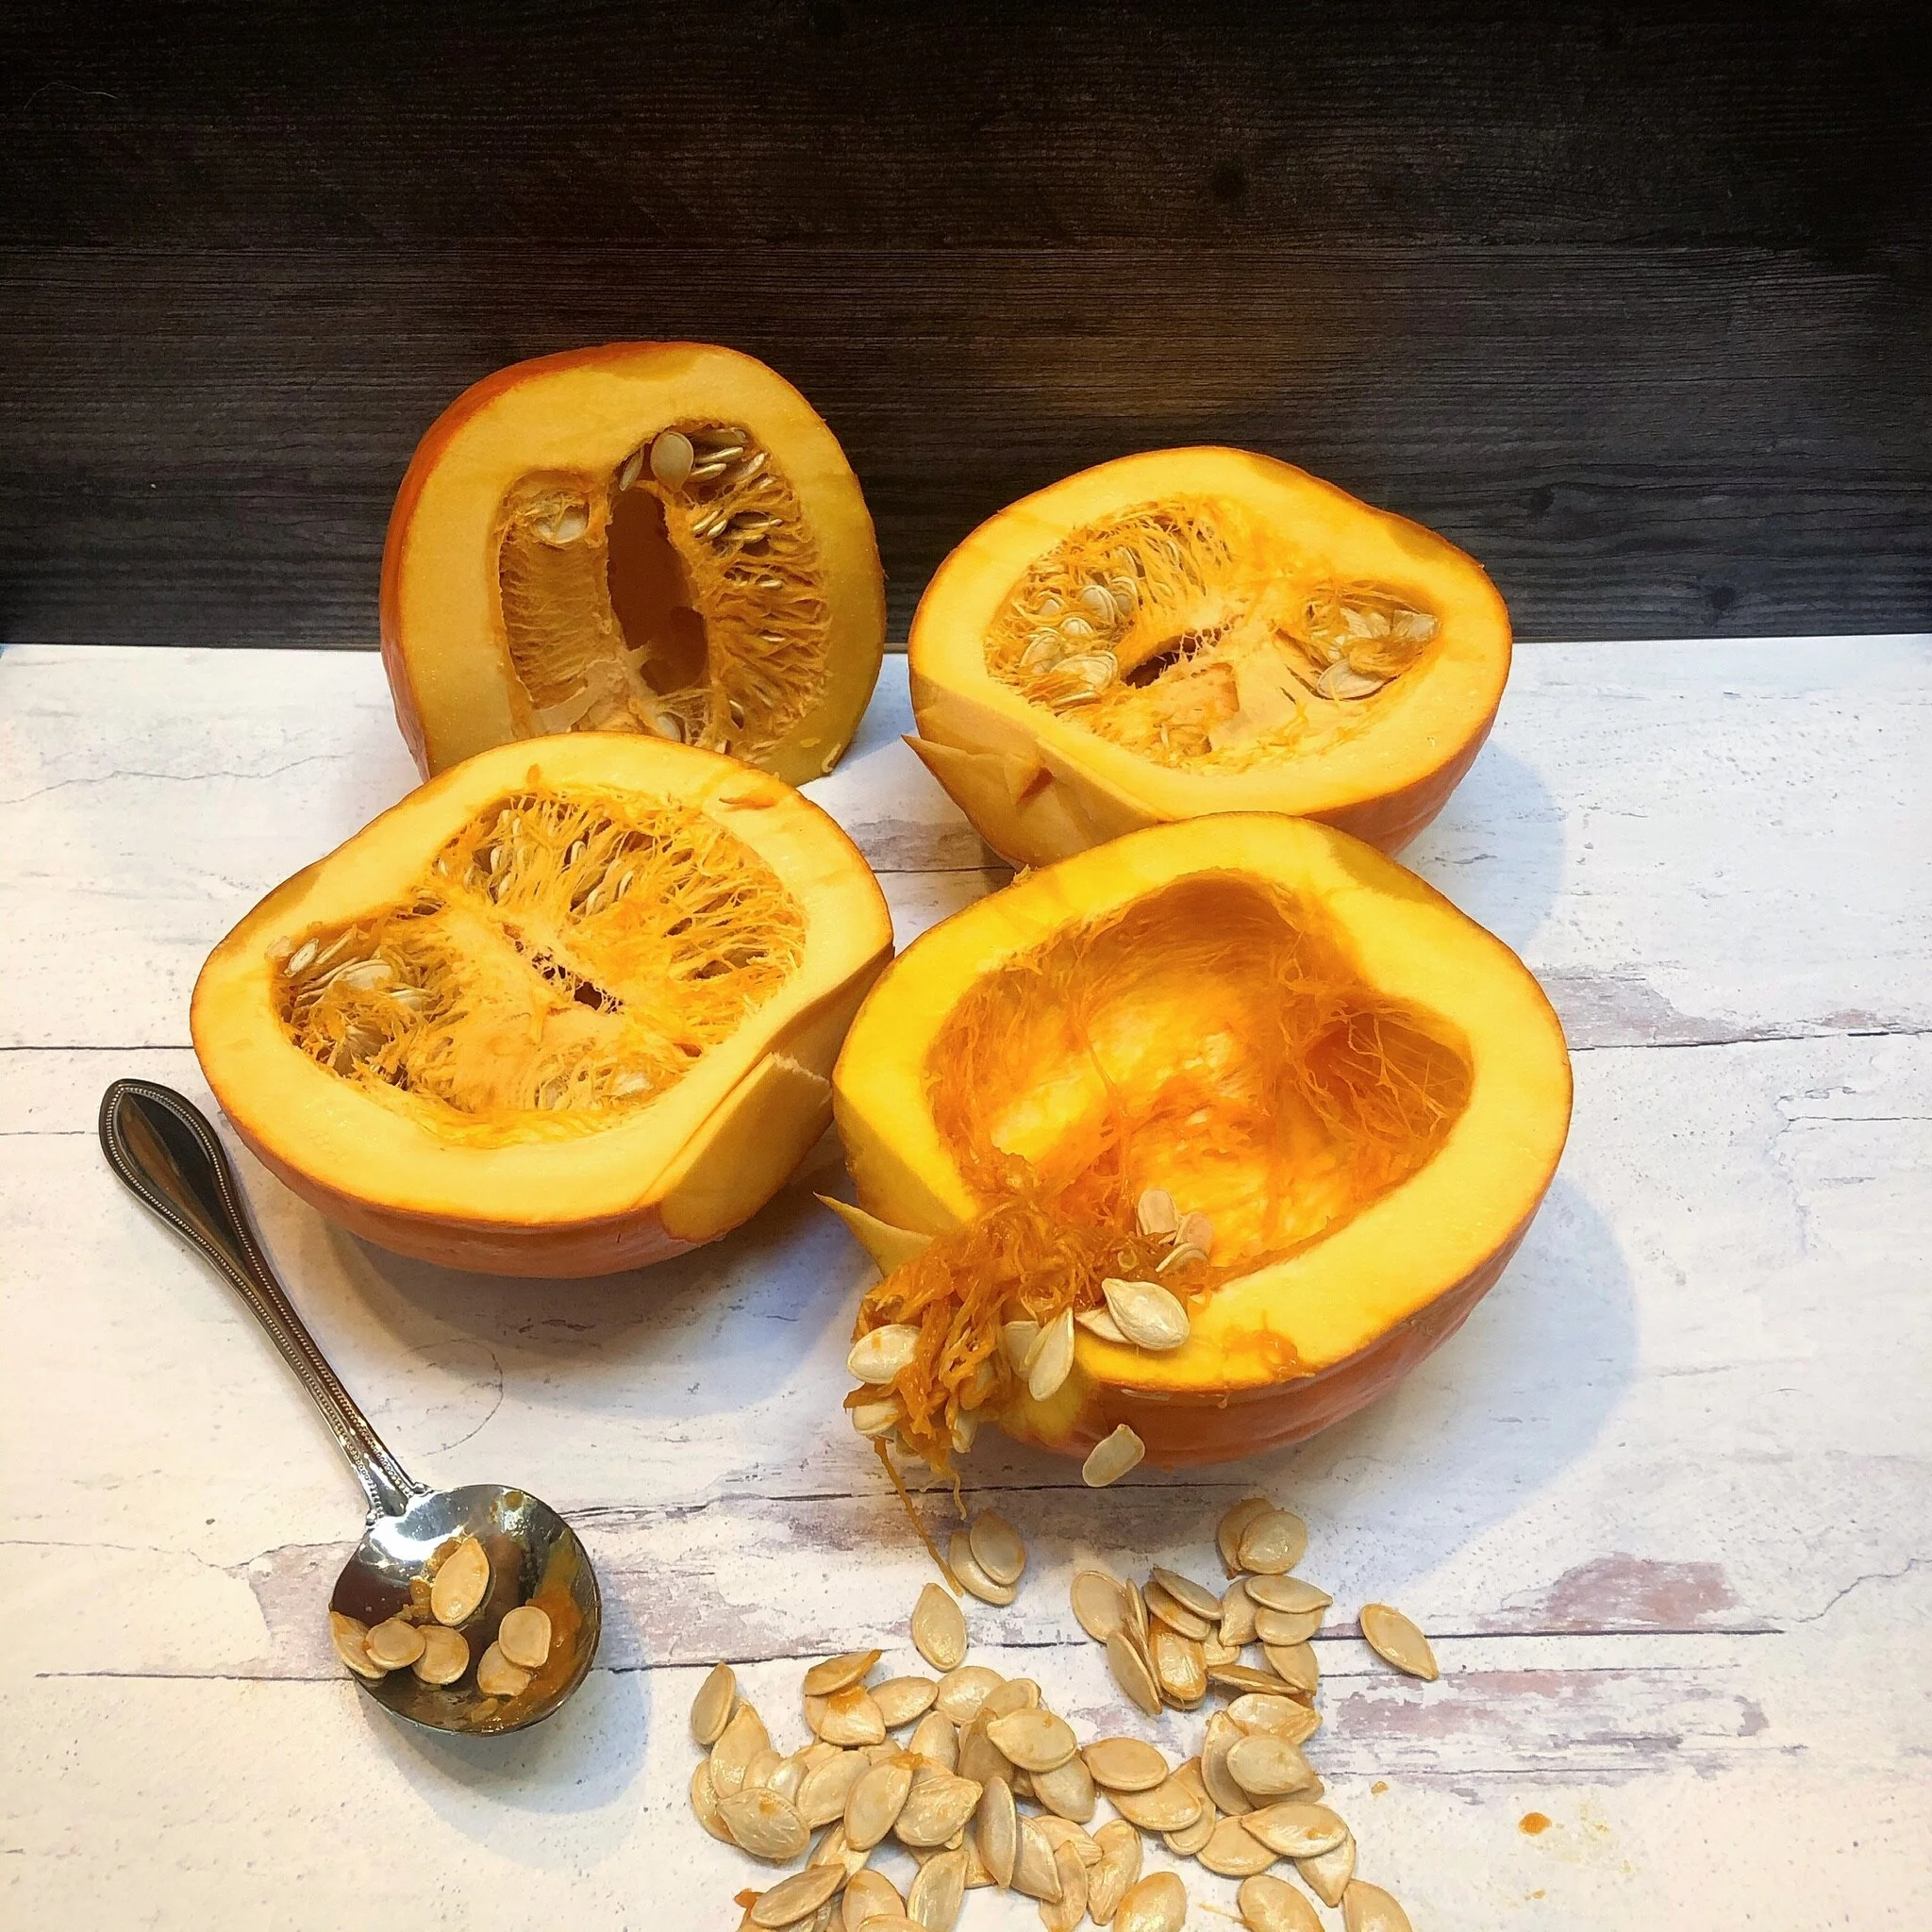
2) Wash and dry your pumpkins, cut off the stem, and then split down the middle. Pro Tip: if your pumpkin is hard to cut through, pop it in the microwave for 3 minutes (5 minutes for two), this will soften the rind enough to cut without cooking the pumpkin!
3) Scoop out the seeds and save to make roasted pumpkin seeds later. Scrape out as much of the stringy stuff as you can — kitchen shears can help cut the strands — but don’t stress about removing it all.
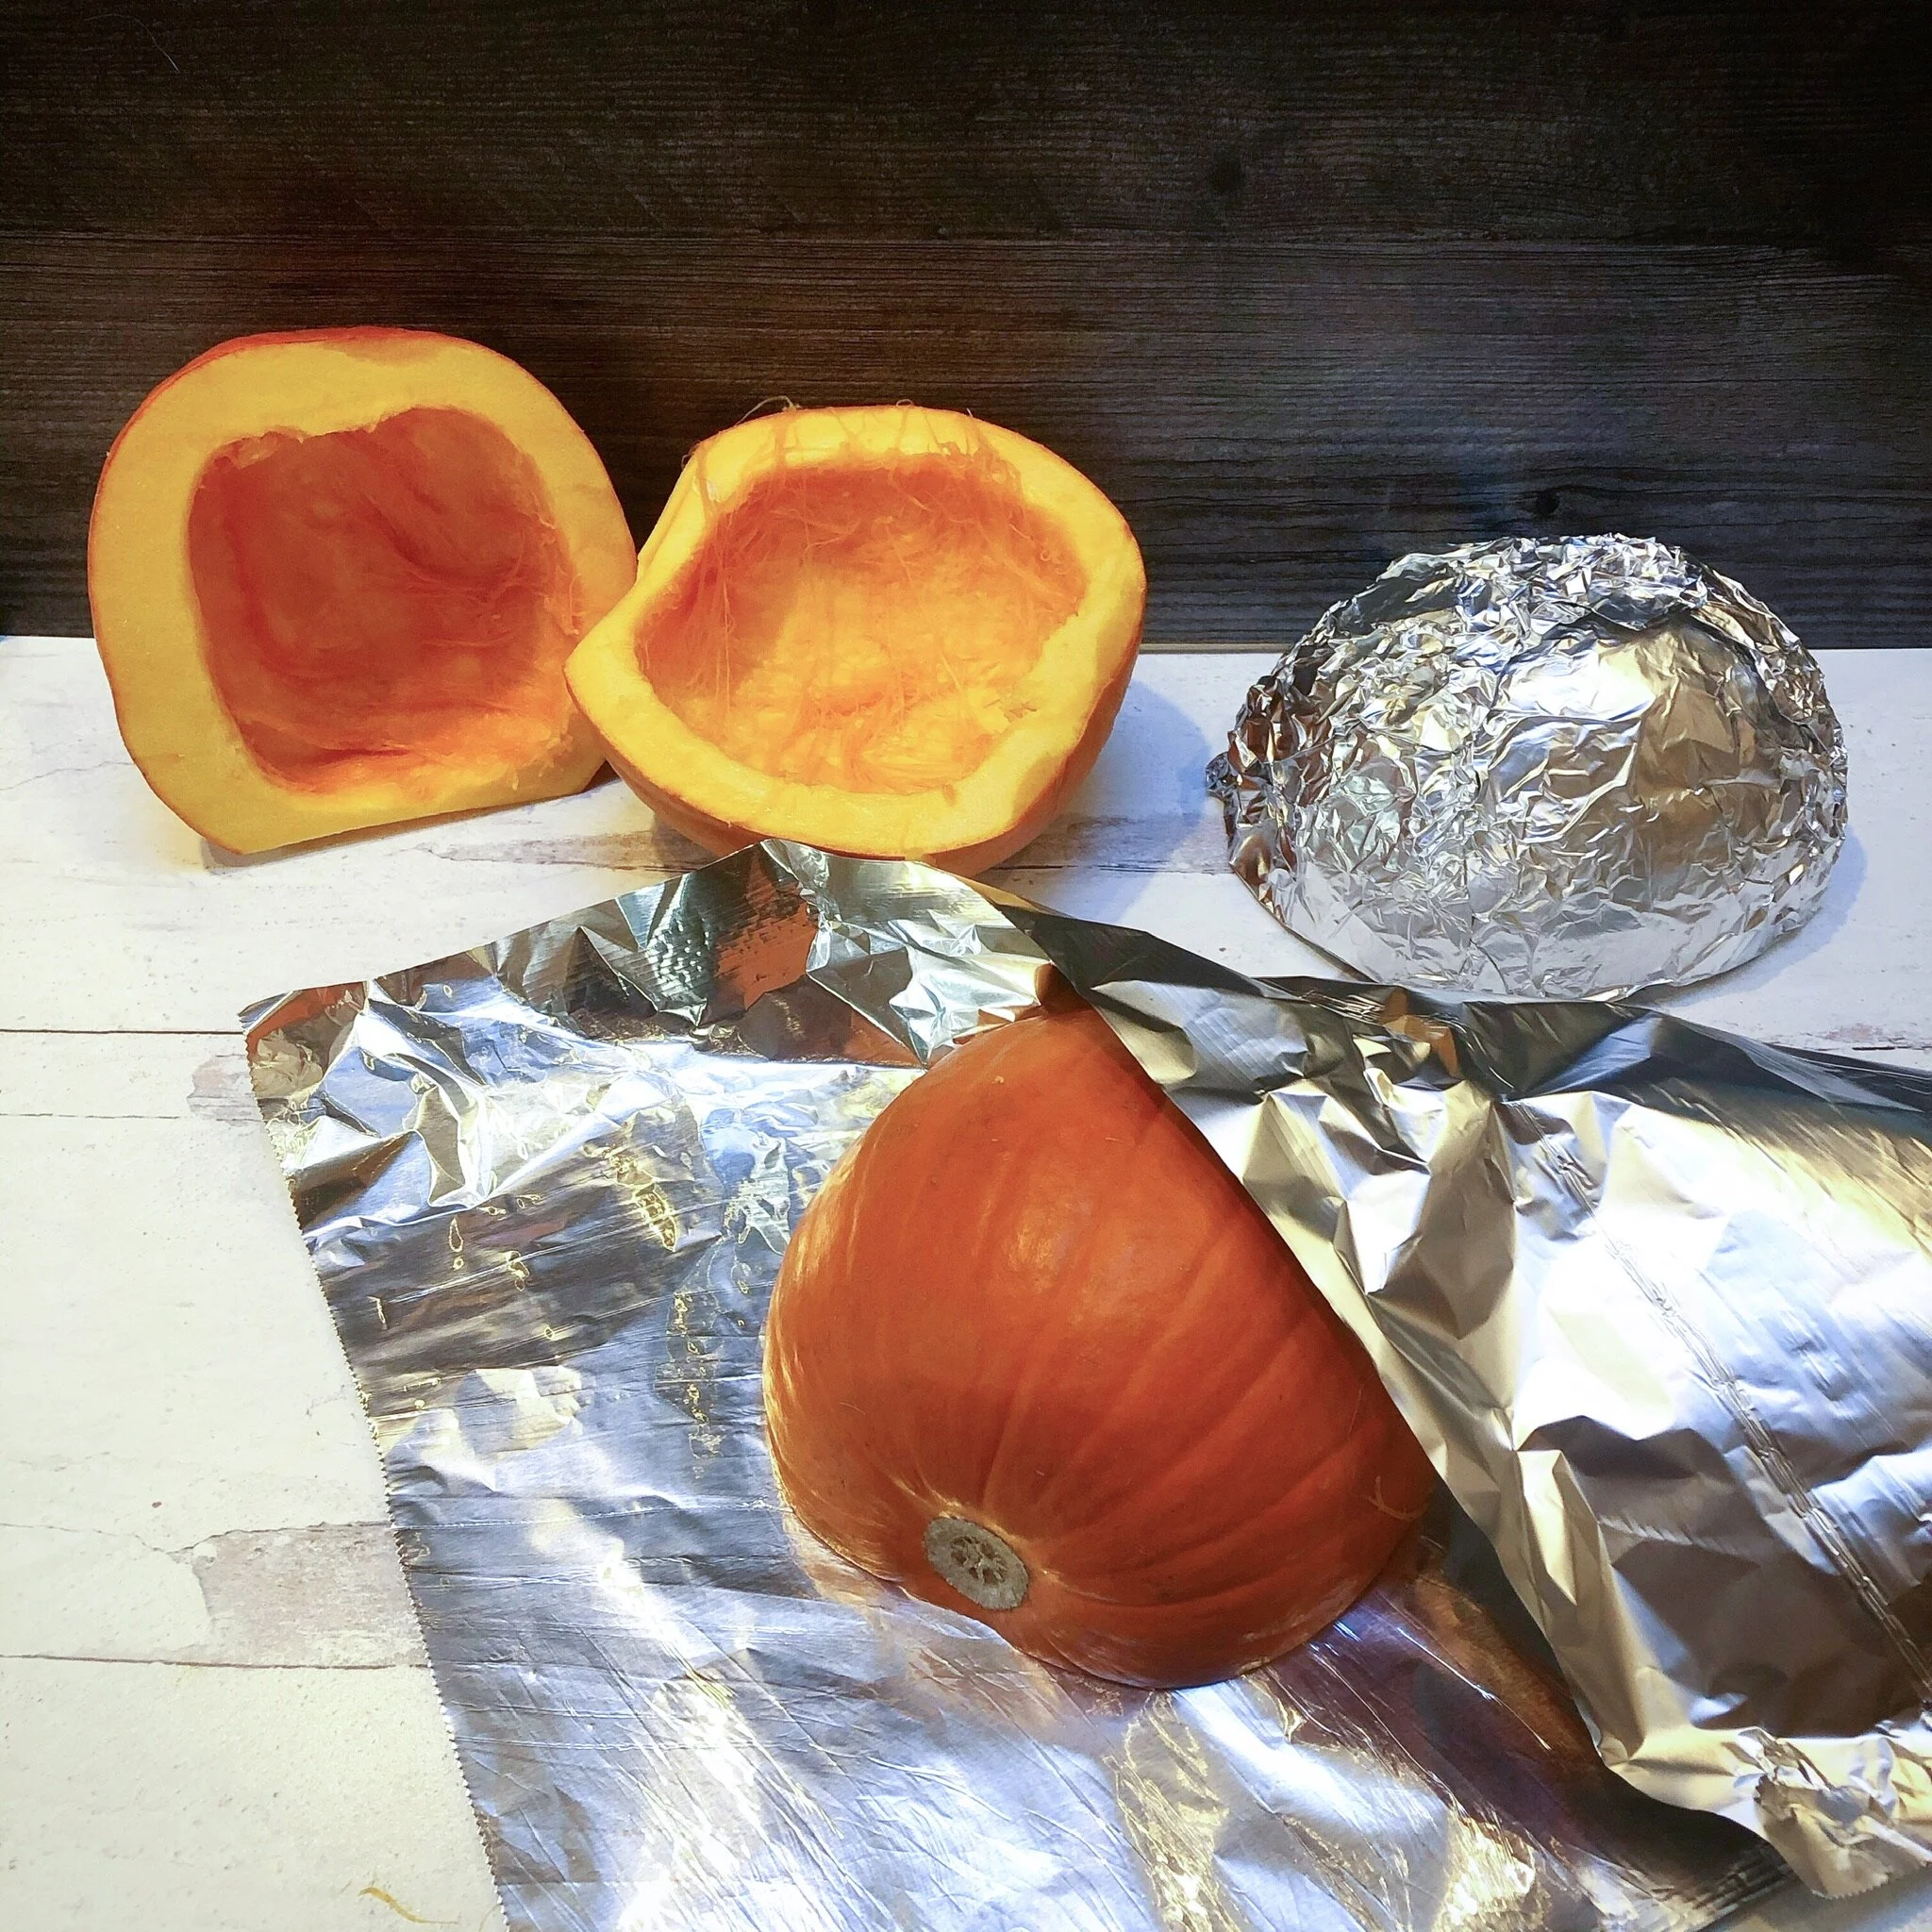
4) Once the pumpkins are cleaned out, place them face-down on a rectangle of aluminum foil. Wrap them diagonally and fold the foil so that the pumpkin is entirely covered. We want to trap all that lovely pumpkin steam during the roasting process for maximum moisture.
5) Place the foil-wrapped pumpkin halves face down on a baking sheet and roast in your 350 degree oven for 30-45 minutes, until the flesh and rind are soft and easily pierced with a fork. When in doubt, it’s better to cook them a little more instead of less, because we want the flesh to be nice and soft.
Pro Tip: Let the pumpkins cool before unwrapping! Not only to avoid steam burns, but also to let the steam reabsorb into the pumpkin for maximum moisture.
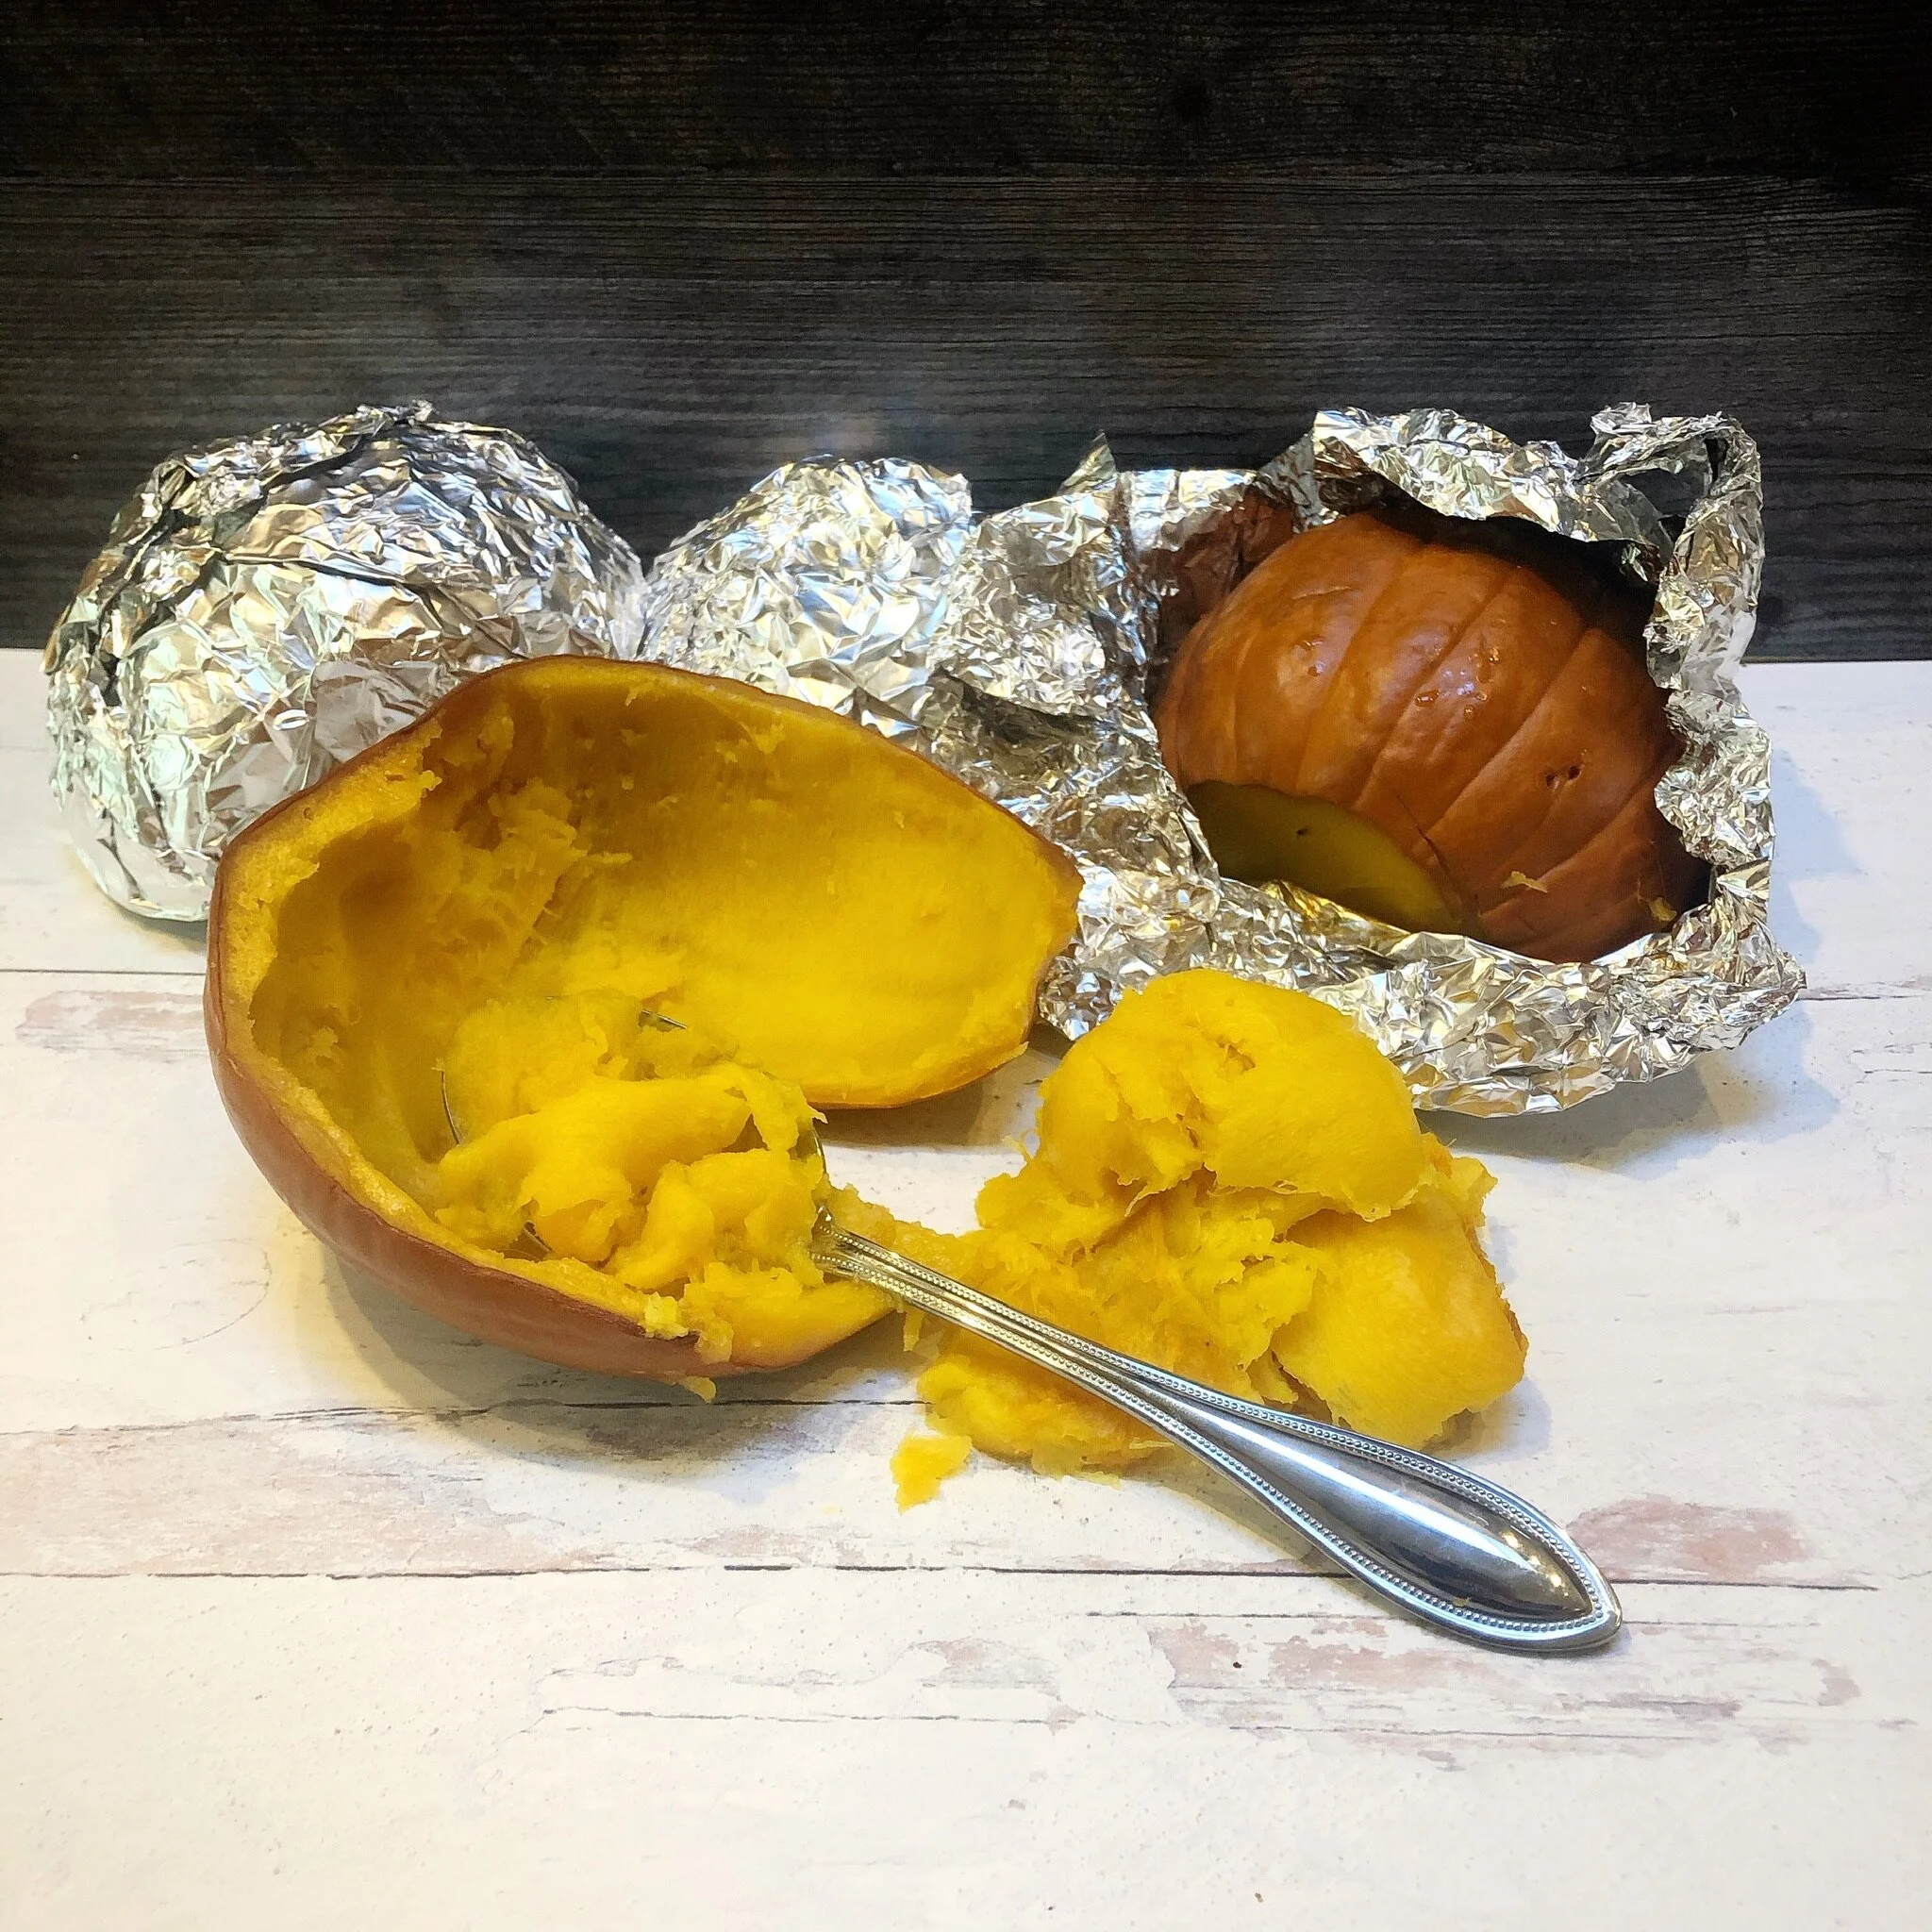
6) Once the pumpkin halves are cool enough to handle, unwrap the aluminum foil and scoop out the flesh. Voila! Roasted pumpkin.
From here, you have a few options… you can freeze the pumpkin flesh as-is, or turn it into puree. The former is great if you think you might use the pumpkin in other kinds of recipes, like smoothies, curries, etc. But the latter is the way to go for baking projects like Pumpkin Bread or Pumpkin Pie.
To make the puree, simply place the roasted pumpkin flesh in the bowl of a food processor fitted with a chopping blade, and pulse until smooth. If you don't have a food processor, a food mill or ricer will work too! I have even used a potato masher to create almost-smooth puree — and if you don’t a few smaller chunks, this method saves a lot of clean up.
The puree will keep in the fridge for a week, and indefinitely in the freezer (when freezing be sure to fill containers to the brim, or squeeze extra air out of freezer bags, to avoid excess ice crystals). I’ve even seen people fill silicone ice cube trays with the puree and freeze for pre-measured servings. However you go about it, your puree will keep for ages and bring a lovely dose of pumpkin flavor to your recipes year-round!