DIY: How To Clean + Reuse Old Candle Jars
Most candles these days arrive in glass jars and, whether plain or fancy, the jar is perfectly reusable when the candle is spent. This blog will walk you through the process of removing old wax and wicks, cleaning, drying, and reusing these old candle jars.
Note: these directions apply to glass jars, and most glazed ceramics; do not attempt with plastic or acrylic candle containers.
Step 1: Removing the old wax
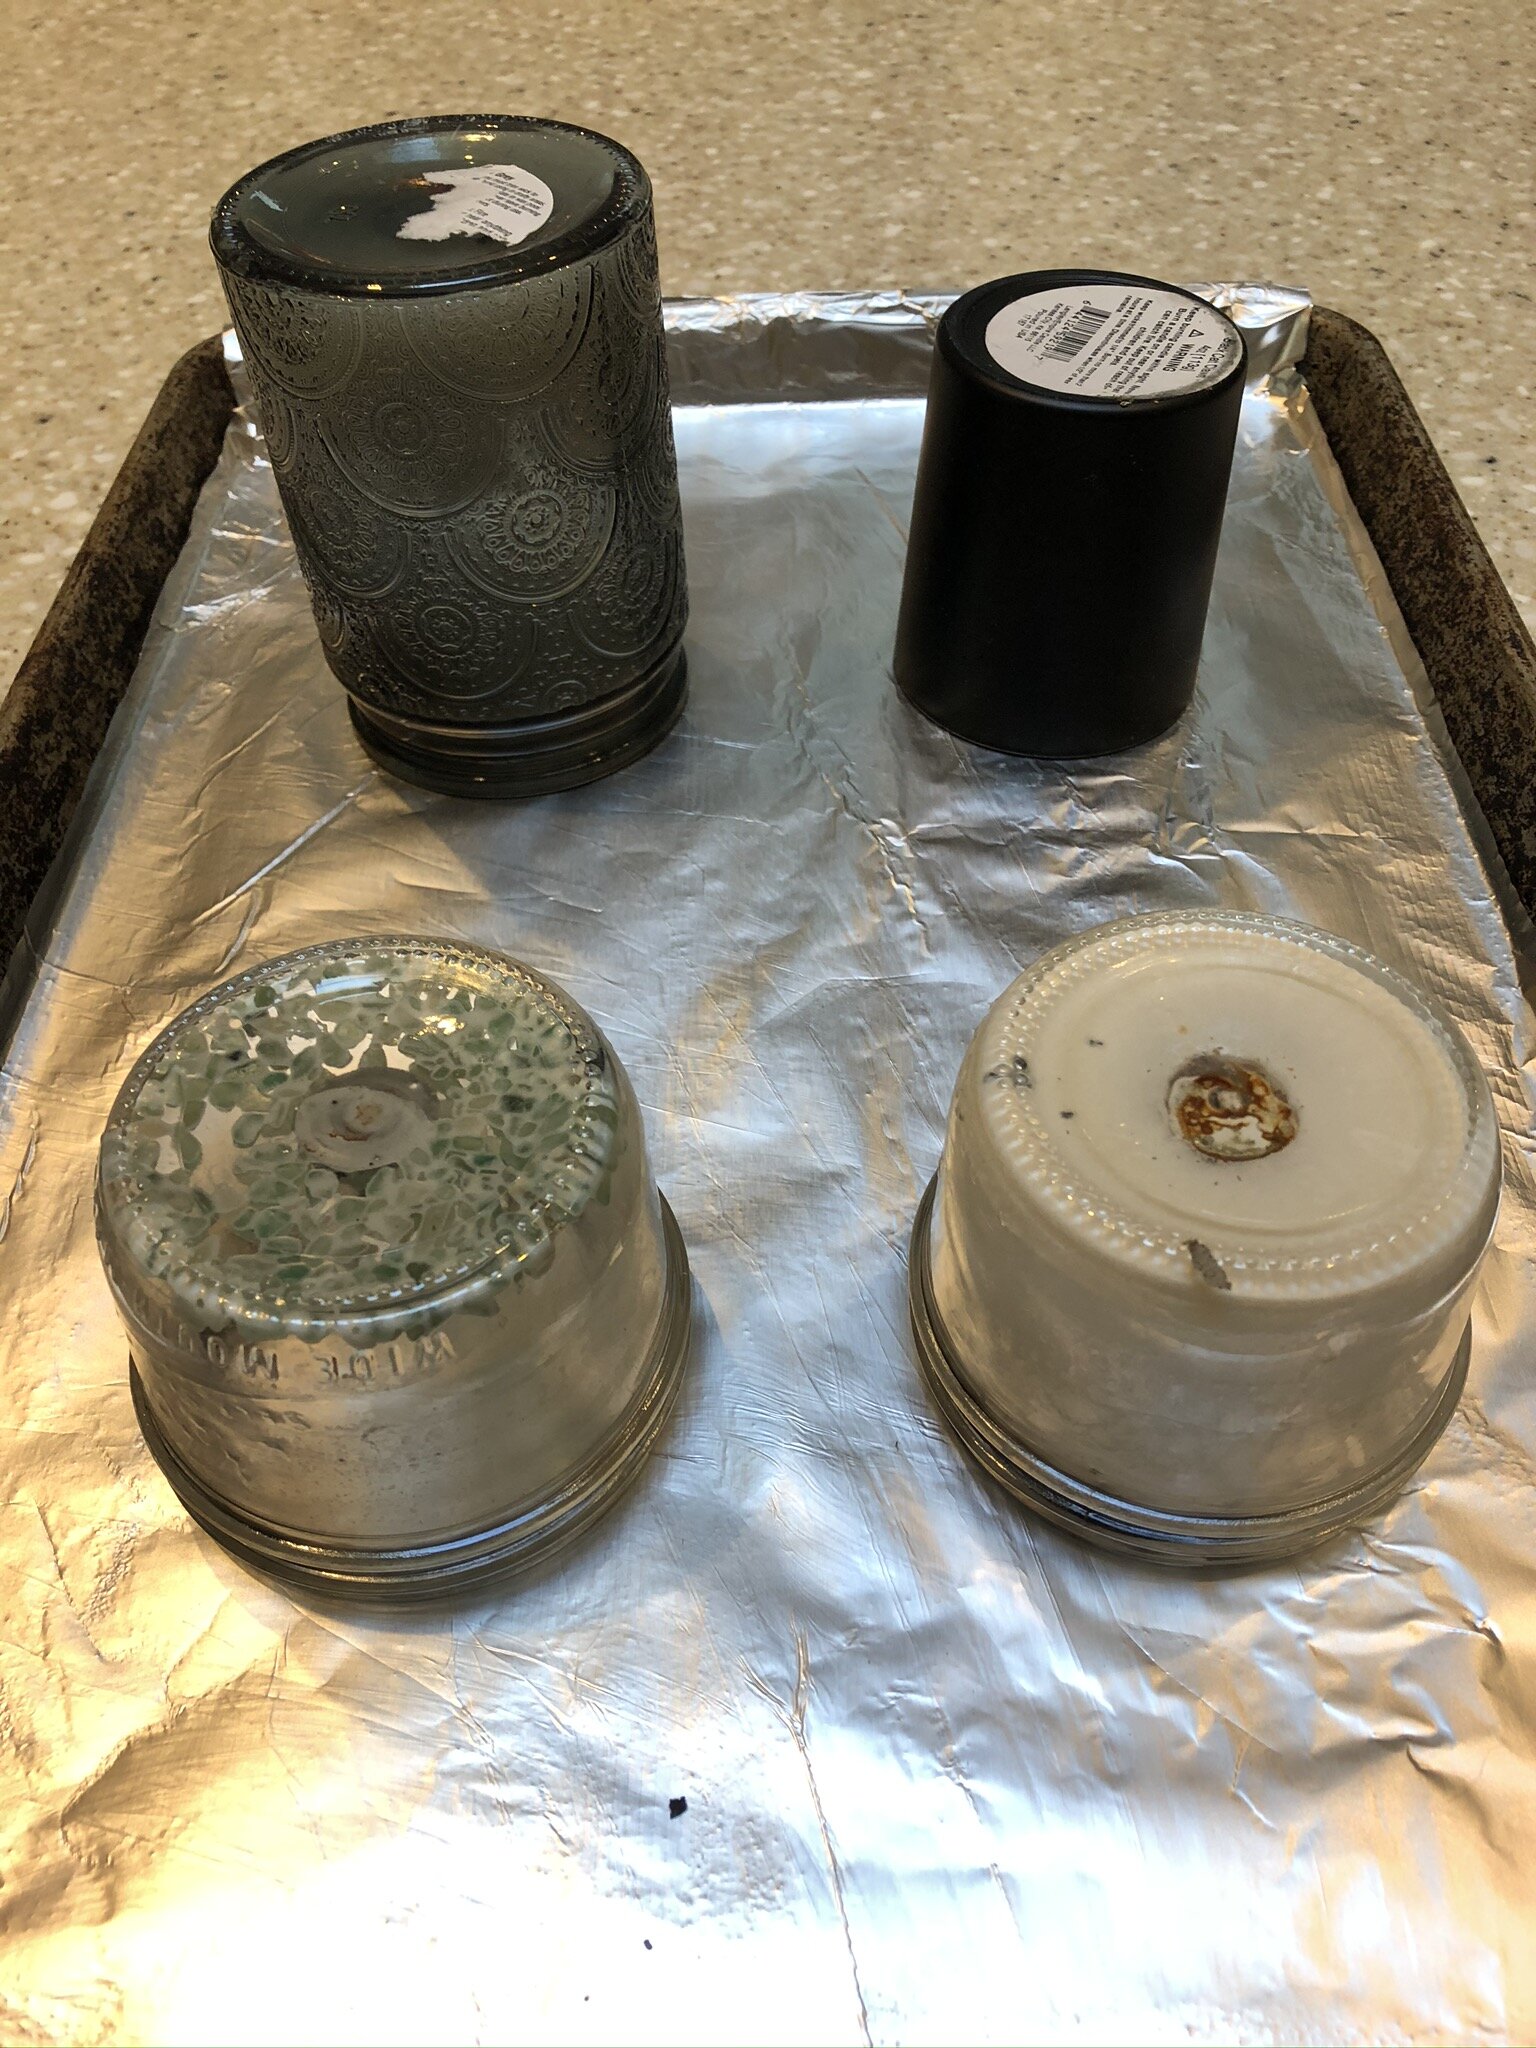
First, preheat your oven to its lowest setting; mine goes down to 170ºF. While the oven reaches temperature, cover a rimmed baking sheet with aluminum foil and place your used candles, open ends down, on the foil. Don’t worry about scraping off labels or stickers, we will do that in a later step.

When the oven is preheated to its lowest temperature place the foil-covered baking sheet with the inverted candles in the oven on the middle rack, close the oven door, and set a timer for 15 minutes.
Step 2: Removing the old wicks + cleaning the jars

After the 15 minutes is up, check on the candles in the oven. All the old wax in the jars should now be melted and puddled on the foil-covered baking sheet. Use an oven mitt to pick up any frosted or opaque jars if you need to check if the wax has all melted. If the wax is not all melted, put the candles back in the oven, close the door, and set the timer for 10 more minutes.
Once the wax is melted out of the jars, it’s time to remove the wicks.
Place the warmed baking sheet on a heatproof pot rest or trivet, as close to a sink with hot running water as you can.
Most wick holders are either glued to the bottom of the jar, or adhered with wax. You can try popping them out with your finger but I find they’re often a bit stuck, so I use a tool like an old butter knife that’s not sharp or a flathead screwdriver.
Hold the candle jar in one hand, or brace on a non-slip surface. Use an oven mitt if the jar is still too hot to touch directly. Place the tool to the side of the wick holder and gently press to the side. The wick holder should pop off its adhesive. If it’s stubborn, apply a bit more pressure and leverage from under the holder. Do this as quickly as possible — without hurting yourself! — so the residual wax doesn’t harden up.
As soon as the wick holder is removed, wash the candle jar thoroughly with hot water and lots of soap. Natural waxes like beeswax, coconut or soy are water soluble and will clean easily. Other waxes like paraffin might take a bit of scrubbing; I suggest using an abrasive sponge or scrubber to help scrape off the wax residue. Be sure to remove any paper labels adhered to the jar; if they are hard to remove, try soaking the jar for 15 minutes in hot water with a splash of distilled white vinegar to loosen the adhesive.
Step 3: Drying the jars + cleaning up

Once all the wax and any residual wax holder residue has been cleaned out of the candle jar it is safe to dry the jar with a clean towel.
If the candle came with any decorative objects, like crystals, they can also be washed with soap and water and dried for reuse. All crystals included with Shieldmaiden’s Sanctum candles are easily cleaned with soap and hot water and make beautiful accents for altars, terrariums, craft projects, and more.
When all the jars are washed and dried, it’s time to clean up the baking sheet. The melted wax should have hardened up by now; simply gather up the foil, being sure to contain any wax that’s still liquid, and throw in the garbage. If the baking sheet has any residual wax on it, scrub well with hot water and soap.

Congratulations! You have successfully cleaned your old candle jars and extended their life for new and exciting purposes. Practical jars like mason and jelly jars can be used for all sorts of useful things, including kitchen work, whereas more decorative glass jars make wonderful planters, pen holders, fairy light lanterns, or even new candles!
I wish you luck in your ongoing DIY endeavors. Skål! 💚 Kittie